
In Eclipse environment, library means set of JAR files which is used for implementing a particular framework or version. By default, Eclipse comes with set of libraries used for the Java environments, Web applications, etc. which are known as the system / web libraries. To make things simpler, Eclipse has the facility to create own library with the set of JAR files selected by the developer. This custom user library can be used across all the projects in the Eclipse workspace. This tutorial explains how to create user library in step-by-step guide.
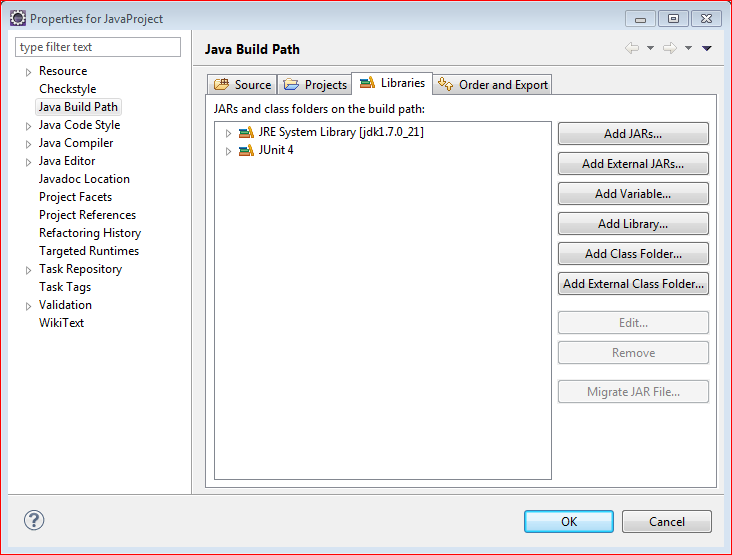
1. Open Java Build Path
Libraries and dependencies has to be configured in the Java build path option. Navigate to Windows -> Preferences -> Java Build Path. Click on the “Add Library” button.
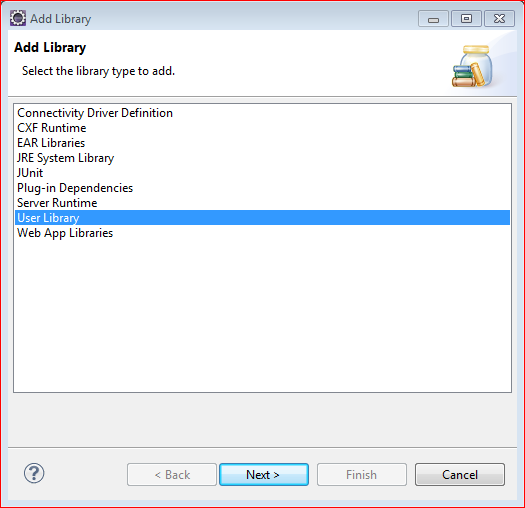
2. Open Library Window
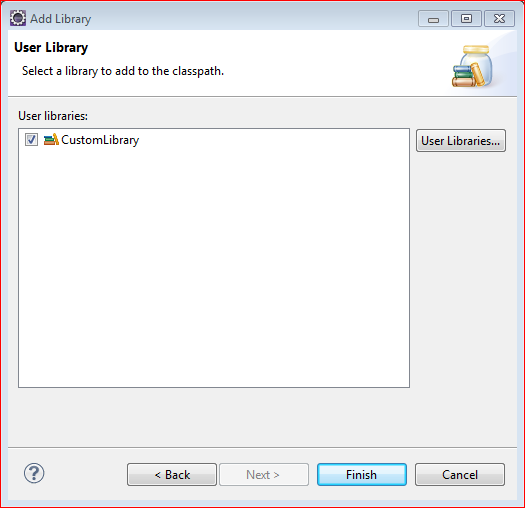
Once click on the “Add Library”, a window will open. Then click on the “User Library” option.
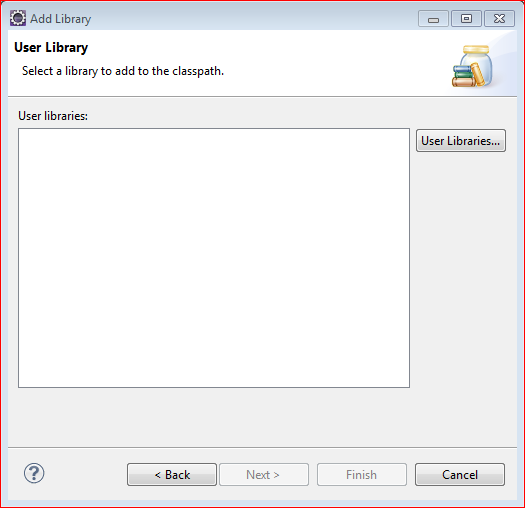
3. Open User Library List Window
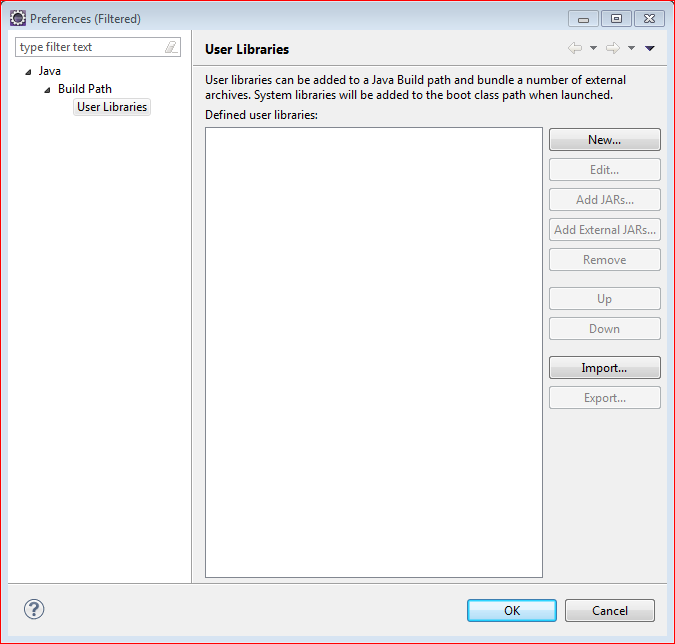
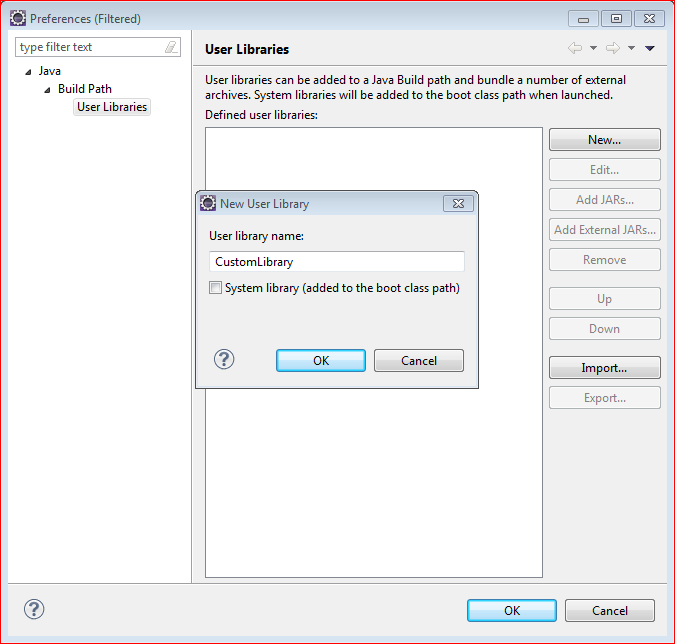
4. Add User Library Name
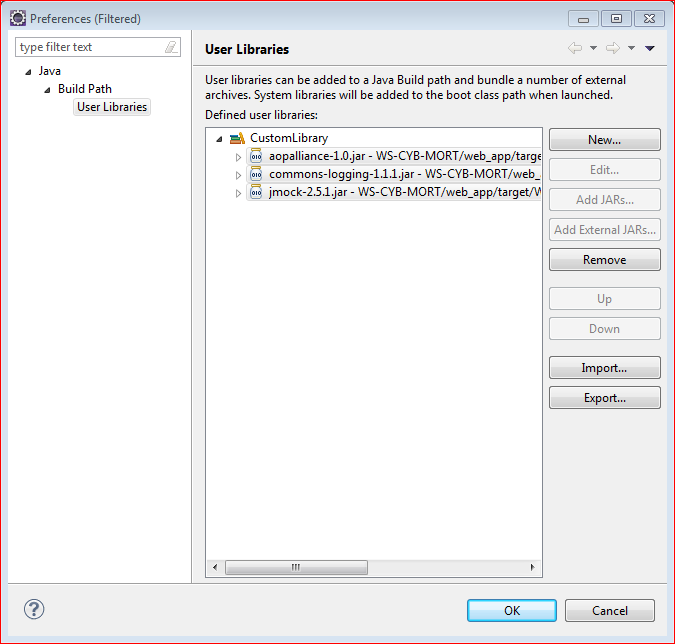
5. Add JARs to User Library
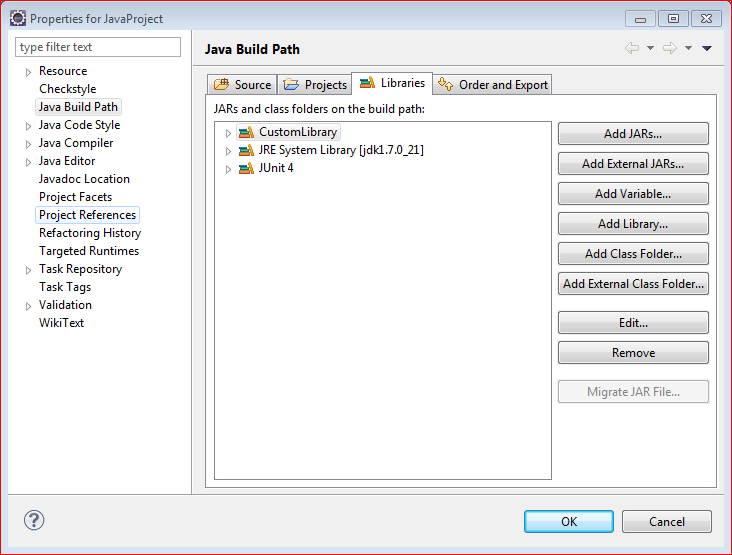
6. Add User Library To Classpath
Once you are ready with the library, it can be added to the classpath of any projects.
 Eclipse Tips : How To Add Server In Eclipse